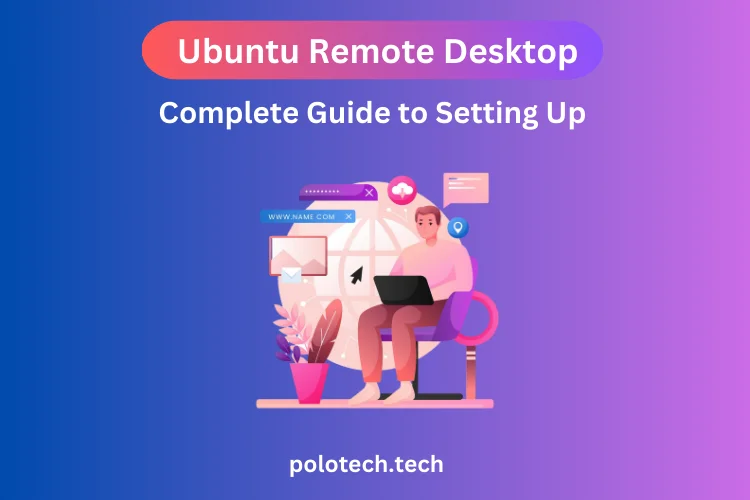
Ubuntu Remote Desktop is a feature that enables you to conveniently access your Ubuntu desktop, from any computer or device. This comes in handy especially when you’re working remotely or if you want to access your files and applications from another physical location.
Remote desktop, also known as screen sharing is a feature found in operating systems that lets users connect to a computer located away and interact with it as if it were right, in front of them. Typically remote desktops are operated and enabled through a graphical user interface.
The remote desktop feature comes in handy when you want to remote access Ubuntu desktop computer from a distant location using a graphical user interface. It’s useful, for providing support to others or fulfilling work requirements.
Ubuntu stands out as the Linux distribution worldwide thanks to its extensive app store and strong hardware support. Whether you use it as your operating system or primarily rely on Windows being able to access Ubuntu through a remote desktop is incredibly convenient.
Thankfully Ubuntu offers built in support for desktops allowing you to easily utilize some of the best remote desktop software available specifically for Linux. This enables access to your Linux computer from a distance.
Virtual Network Computing (VNC) serves as the method used for desktop connections into Ubuntu. You can utilize any VNC based desktop client of your choice to establish a connection. Additionally, you can use alternatives like Remote Desktop Protocol (RDP) or third-party applications if preferred..
Steps to Utilize Ubuntu, as a Remote Desktop ; prerequisites
To enable remote desktop Ubuntu you will need the following;
- An Ubuntu computer that you intend to use as a desktop. This can be another computer, laptop, server or machine.
- A second computer from which you can access the desktop. This can be another computer, laptop, tablet or smartphone running operating systems such, as Windows, macOS, Linux, Android or iOS.
- An internet. A local network connection between the two computers/devices.
- The IP address , Hostname of your computer. It is essential to know the IP address or hostname of your computer, for all the methods described in this article.
Getting prepared to Ubuntu remote desktop on Ubuntu

To gain an understanding of how to establish a desktop connection, with Ubuntu it’s beneficial to familiarize yourself with the supported desktop protocols.
In case you wish to connect to computers from your Ubuntu setup the latest versions of Ubuntu come equipped with Remmina in their application store. It serves as a solution for desktop access. Through Remmina you can establish connections to computers on your Ubuntu installation using protocols such as VNC, RDP, SSH and more.
Ubuntu itself provides a built in desktop solution based on VNC. This eliminates the need for any software installation. VNC is a ubiquitous platform system for sharing and accessing remote desktops. It offers clients for all operating systems and mobile devices.
If you want to access Ubuntu from a Windows machine using VNC you’ll need to have a VNC client installed on the computer you’re connecting from. Fortunately there are options available like TightVNC for Windows and VNC Viewer from RealVNCs , for Android and iOS.
If you prefer not to utilize VNC Ubuntu has the capability to support RDP by installing xRDP. This guide will cover both alternatives beginning with the VNC option since it is common employment method.
Also Read: Remote Desktop Services: Key Benefits and Setup Essentials
1. Enabling screen sharing
If you wish to allow remote users to control your screen by sending mouse and keyboard inputs simply click on “Allow connections to control the screen”. However if you prefer that they have viewing access without control privileges leave this option disabled.
You also have the choice of determining whether a remote user needs to request permission, from the user before gaining access or if they can directly enter a password for control of the computer. Additionally select which network(s) you want desktop functionality to be available over.
Once you have made all your desired adjustments don’t forget to toggle on the slider located at the corner of the “Screen Sharing” dialog box before closing it by clicking on “Close menu”.
2. Set up sharing to on
Many new users often overlook the button that needs to be activated for sharing. First, enable the ‘Screen Sharing’ option, and then turn on the ‘Sharing’ option, located at the top right corner of the Sharing settings window.
After you finish following these steps your Ubuntu remote access will be all set to accept desktop connections, for Ubuntu Remote desktop.
3. Find the ip address of your Ubuntu computer
To connect to a computer using VNC most VNC clients rely on the computers IP address. It is helpful to know this number if you want to establish a connection, with your computer using VNC.
In Ubuntu you can easily access your network settings by clicking on the network icon located at the right of the screen. Choose the network through which you wish to connect to your Ubuntu machine. On the “Network Settings” page click on the icon to view your computers network details.
Take note of the number to IPv4 Address. This represents your Ubuntu computers IP address, which you will need when configuring your VNC client.
4. Install VNC client
To connect from your device you will need a VNC client. If you are using a Windows system there are open source options such, as TightVNC, TigerVNC and UltraVNC.
First,. Install the VNC client of your choice. The installation process may vary depending on the client you choose. Typically VNC clients are programs that require setup. For this example we’ll go with TightVNC. Simply download the TightVNC software run the installer and you’re good to go.
5. Remote desktop into Ubuntu
To begin launch your VNC client application (also known as the viewer). Input the recorded IP address of your Ubuntu computer. Afterward click on the “Connect” button. In case you had set up a password, for screen sharing during a step you will now be prompted to enter it. Simply provide the password to remotely operate your Ubuntu computer.
Moreover, if you’re interested you might find it helpful to take a look, at our guide comparing RDP and VNC. It can provide some insights to enhance your understanding of this topic.
Optional: using RDP
If you primarily use Microsoft Windows you might find it more convenient to connect to your Ubuntu computer using RDP, than VNC. RDP stands for Remote Desktop Protocol. Besides it Is commonly used by Microsoft Remote Desktop. By installing xRDP on your Ubuntu computer you can easily, Utilize RDP.
- To get started open the terminal (command line) on your Ubuntu computer by pressing Ctrl + Shift + T.
- Type the command ‘sudo apt install xrdp’ (without quotes). Hit enter. You will be prompted to enter your administrator password. This command will Install xRDP.
- Next type the command ‘sudo systemctl enable xrdp’ (without quotes) and hit enter. This will activate the listening service.
Now your Ubuntu computer is ready to accept RDP connections. You can use the built in software called Remote Desktop Connection in all versions of Windows. Alternatively you can download Remote Desktop clients for Android, Ios from their app stores.
Also Read: Remote Desktop Connection Manager: A Step-by-Step Guide
Conclusion:
In this article we have explored the methods, for accessing and managing your Ubuntu desktop from a remote location. However if your aim is to execute a remote command line we suggest bypassing remote desktop solutions and relying on the reliable SSH protocol.
Ubuntu stands out as one of the user Linux distributions and this user friendliness extends to its built in remote desktop capabilities. Moreover, with a few steps you can effortlessly initiate remote control of your Linux computer using VNC.
By installing xRDP you can opt for RDP instead. This allows you to use Microsoft Remote Desktop Connection to manage your Ubuntu computer from a Windows device. It’s worth noting that some of the performance benefits typically associated with RDP, on Windows may not apply when connecting to Ubuntu. You might experience latency and screen tearing contrast to what you’re familiar when using RDP with a Windows computer.
There are remote desktop solutions available that support Ubuntu. For example TeamViewer is an used application for sharing and controlling desktops, including Ubuntu systems.
Another option is Chrome Remote Desktop, which functions as a VNC client, on Ubuntu. However configuring it to enable devices connecting to your Ubuntu machine can be somewhat intricate.

One thought on “Ubuntu Remote Desktop: Complete Guide to Setting Up”